T4 WK 4 - Works in Progress
- Mar 4
- 4 min read
Updated: Apr 8
CYANOTYPES

This week I attended an extra class with Andy with the first-year degree students to learn the early photographic technique - Cyanotype.
The cyanotype process, first developed in 1842 by John Herschel, produces images through a light-sensitive mixture of ferric ammonium citrate and potassium ferricyanide. When exposed to ultraviolet light and washed in water, the chemicals react to create the distinctive deep Prussian blue tone associated with cyanotype prints. Historically, the process was used for scientific documentation and botanical studies, most notably by the botanist Anna Atkins.
Materials:
Cyanotype Solution A (Potassium Ferricyanide)
Cyanotype Solution B (Ferric Ammonium Citrate)
Water
Paintbrush or foam brush
Paper, fabric, timber
Sunlight or UV lamp
Tray of water
Tray of water with hydrogen peroxide mixed in
Glass or acrylic sheet to hold negatives in place
Transparencies for photo negatives
Method
Part 1: Preparing the Cyanotype Sensitizer
If using powdered chemicals:
Mix Solution A:
Dissolve 40g Potassium Ferricyanide in 400mL of water.
Let dissolve for 24 hours.
Mix Solution B:
Dissolve 100g Ferric Ammonium Citrate in 400mL of water.
Let dissolve for 24 hours.
If using a pre-made sensitizer kit:
Simply add water to the bottles, shake, and allow to dissolve for 24 hours.
Part 2: Coating the paper or fabric
In low light, mix equal parts of Solution A + Solution B
Only mix what you will use in the next 2-4 hours.
Brush the sensitizer evenly on to the paper or fabric with brush.
Allow it to dry completely in the dark.
Paper may be double coated for richer colour.
Keep coated materials away from moisture and bright light.

Part 3: Creating the image
Option A: Photograms (Object Prints)
Place leaves, flowers, lace, cut-outs, or other objects directly on the sensitized surface.
Option B: Photo prints using negatives
Print a digital image as a black-and-white negative onto transparency film.
Place the negative onto the sensitized surface.
Important: Cover your setup with glass or acrylic sheet to keep everything flat during exposure.
I began testing how my photographs behave as cyanotypes across different materials. The aim was to understand exposure times and how each surface holds tone and detail before moving into larger works.
Part 4: Exposure
Expose the coated surface (1-30 minutes depending on brightness).
Print will turn broze when fully exposed.
Overexposure is safer than underexposure - blues will deepen during washing.
I started with paper to establish a baseline. Using a timed test strip in one-minute increments, I exposed the image gradually to determine where the tonal range became stable.


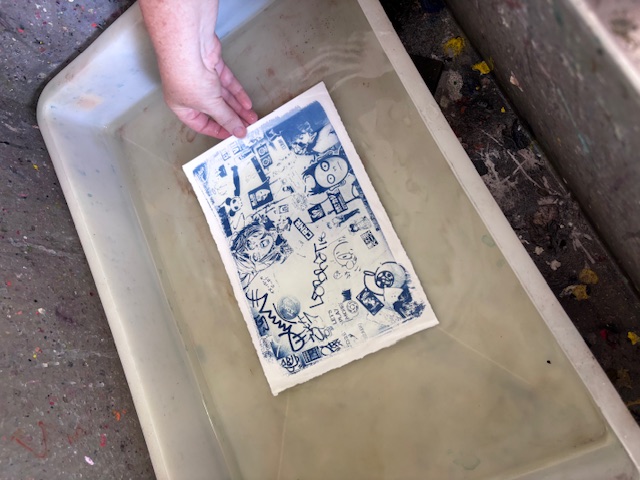
Part 5: Developing your print
Place the print in cool water immediately
Wash for at least 5 minutes, changing the water until it runs clear.
(Optional) Dip the print briefly in diluted hydrogen peroxide for instant deep blue.
Hang or lay flat to air-dry out of direct sunlight.

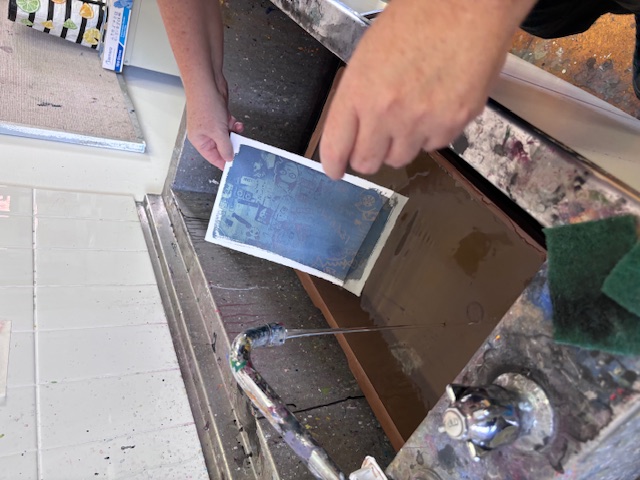


After washing and assessing the results, seven minutes proved to be the most effective exposure. At this time the image produced the deeper blues and stronger tonal separation that I am looking for in the photographs.


Once the exposure time was established, I began testing different surfaces.
Hessian was the second experiment, and it failed completely. The fabric exposed immediately and when it was washed the entire surface turned blue with no image remaining. The photograph disappeared entirely. My suspicion is that the hessian may contain chemicals or treatments from manufacturing that react with the cyanotype solution. This will need further investigation.


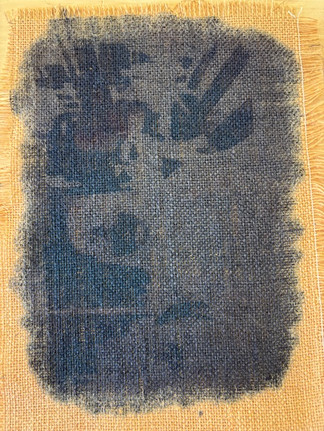


To test this again, I plan to coat the hessian with a white ground first to see whether painting it a light colour, changes the outcome. Or expose for a shorter amount of time.
Canvas produced a more promising result. Because the fabric is lighter in colour, the image remained visible after washing, although the tonal depth was not as strong as on paper and the detail appeared softer. This may actually be closer to the result I am looking for, as the softer image could support the abstract direction of the work and allow the geometric line to become more pronounced within the composition.
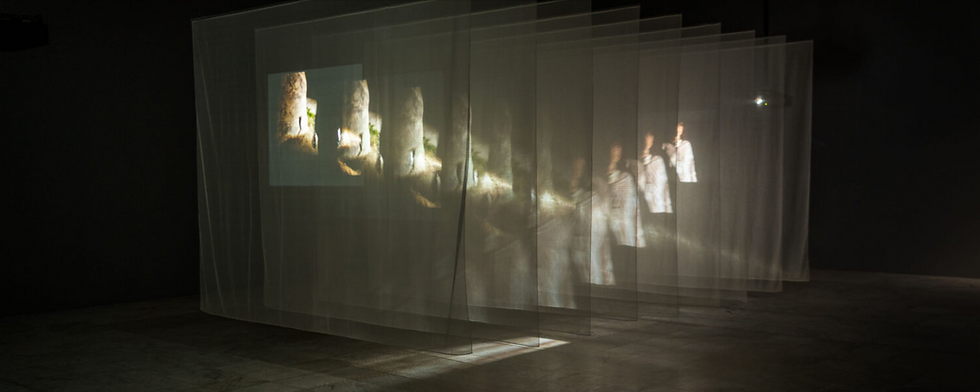
I am also considering constructing the work by stitching individual pieces together rather than layering everything in a single exposure. At the moment I am still undecided about which approach will best support the idea, so this remains something I need to test further before committing to a final method.
At this stage, the material testing is important for the direction of the project. More experiments will continue as I test different grounds, surfaces and exposure conditions to better understand how the cyanotype process behaves across materials.

Troubleshooting Guide:
Very dark/overexposed prints
Negative not opaque enough - consider doubling the transparency.
Exposure time too long - shorten.
Pale or low-contrast prints
Underexposed.
Light wasn't strong enough.
Over-washing.
Water spots
Touching paper with wet fingers.
Leaves or objects may release moisture.
Yellow or brown discolouration
Contact with soap, dirty trays, or phosphates.
Make sure all tools are clean.
Prints darken while drying
Not rinsed thoroughly.
Keep out of direct sun while drying.
Reminders:
Handle sensitized paper with dry hands only.
Keep coated paper in a sealed, dark bag or room until use.
Cyanotypes are archival but avoid soaps containing phosphates when washing fabric versions.
Each cyanotype turns out unique.
4 Liquid Solutions for Creative Effects
These solutions can be applied after the cyanotype is fully exposed, washed, and dry.
Hydrogen Peroxide (H2O2)
Effect: deepens the blue instantly.
How to use: Apply 3% household peroxide with water with dunking it in the solution or spraying it.
Diluted Bleach (0.5-2%)
Effect: Lightens or removes blue for selective fading.
How to use: Mix 1 part bleach - 20-40 parts water, apply sparingly, rinse immediately.
Tannic Acid (Tea, Coffee, Wine)
Effect: Turns blues into browns, purple and sepia tones.
How to use: Brush on strong tea/coffee, or soak print. Optional: bleach lightly first.
Vinegar or Citric Acid Solution
Effect: Boosts contrasts and deepens shadows
How to use: Mix 1tbs vinegar in 1 cup water and brush lightly.
References:
All photos © Melanie Meggs
Teacher's handout
Student notes